

Growing wheat may sound like a big step up in your homesteading efforts, but it isn’t. Being a grass, wheat can be sown and then effectively left to do its own thing, even in poor soil and/or inclement weather.
Old “heirloom” varieties are best for the nutritional punch they offer. These types are hardier, too, meaning no inputs –such as fertilizer– are required to achieve a decent harvest, unlike modern wheat strains.
Ancient varieties such as “Einkorn” and “Emmer” –the latter being our favorite– contain protein, fiber, essential fatty acids, vitamins A, B1, B2, B3 and B6, potassium, phosphorus, iron, zinc, manganese and antioxidants.
Emmer is a particularly high protein wheat and is predominately used for pasta, bread, pilafs and flatbreads.
The only real downside to these old varieties is that they contain less gluten, meaning they’re harder to work with when it comes to making dough for breads, etc. — but a little extra elbow grease fixes this.
Sowing And Growing Wheat
We grow “Emmer”, an ancient two-rowed hulled wheat variety, also known as “Farro” in Europe.
As with most varieties, Emmer requires a sowing rate of approximately 20-30 seeds per square foot.
I aim for this number, but given my generous hand-broadcasting technique I hit 30+ seeds p/sq ft more often than not. Though as always, it’s hard to go wrong. Casting more seeds will be a waste but not a disaster. A densely populated planting area will see the stronger plants out-compete the weaker ones, i.e. kill them.
Sowing is done directly outside.
Wheat will happily transplant, but what a needless faff that would be.
As with everything, wheat grows best in weed-free soil.
We have found Emmer to be frost-tolerant, with very low irrigation needs.
In all honestly, I don’t do a bloody thing for the crop. I simply sow, wait and then harvest.
I do not prepare the soil with any fertilizer beforehand, either (although our goats and pigs will very briefly graze the growing area between harvests, naturally topping-up the soil’s nutrient content).
We obtain two harvests a year, by sowing once in late-April and then again in late-September.
While the plants are indeed frost-tolerant, the soil temperature will ideally need to be above 10C (50F) for the seeds to germinate, although during some particularly cold/extended springs, I have had seeds successfully germinate at soil temperatures of as low as 3C (37F) — not ideal, but possible.
We have very hot and dry summers here in Central Portugal. Daytime highs often soar above 40C (104F) and rain can be evade us for months at a time. Still, our Emmer does just fine with no effort on my part (other than a rare ’emergency watering’ should ‘extreme’ drought conditions set in).
Harvesting
Given Portugal’s long growing season, our second wheat crop will happily mature in late-December.
In colder climates, however, where the winters are harsh, plants will likely stop growing Dec-Feb, to then restart their growth during the following spring, giving an early harvest, perhaps even as early as April.

Wheat is ready to harvest when the seeds (aka “berries) have turned completely brown, with no green remaining.
They will be dry, too, and a simple ‘bite test’ will tell you all you need to know. Biting on a berry should result in crunch or a crack, if it feels soft or chewy then your crop needs a while longer to dry down.
Another sign of harvest time is “nodding”, which is when seed heads bow or ‘nod’ on the stem.
If the above get a tick (particularly the bite) then it’s time to harvest–before the birds do it for you.
Given that our crop isn’t ever all that large (covering maybe 1/8 of an acre), we manually cut the seed heads off, being sure to leave some of the stem behind for the animals to graze on. I have gotten pretty quick at using a scythe to hack down the stalks. But for a small patch, a pair of basic garden shears or even scissors will suffice.
Threshing
Investing in a small-scale thresher would probably make sense for us, given that we’ve taken our wheat-growing operations to the next stage. But I am reluctant to throw any money into something as simple, basic and ancient as threshing–at least not when I have three young sons to do the job for me.

Our process involves placing bundles of wheat in a large tray, holding the stems in place with one foot, and using the other foot (or those of a child) to roll and shuffle over the heads to break the seeds free from both the stem and their husks (the hard, indigestible outer casings).
The result should be loose grain (and plenty of chaff).
This method, while imperfect, remains good enough for us. Any seeds still attached to the stem or housed in their husk can be sorted individually, if time allows.

Winnowing
Winnowing is the process of separating the grain from the unwanted chaff.
In the absence of a suitable fan (ours recently ‘blew’), we wait for a breezy day and simply pass the material back -and-forth between two buckets, allowing the wind to blow the lighter chaff away from the heavier seeds.
This can be a time-consuming process, but also a somewhat therapeutic one.
It is a good idea to pick the larger, heavier pieces of chaff out before starting the winnowing process.

Storing Wheat
The internet suggests putting the grain in the freezer for a few days, to kill off any microscopic critters before storage. While this does make sense –we have had bug problems with storing peas in the past– it isn’t a tactic we’ve had to employ when it comes to wheat (not yet anyway).
We place our bone dry wheat in airtight containers, in large glass jars, and then store in a cool, dark spot.
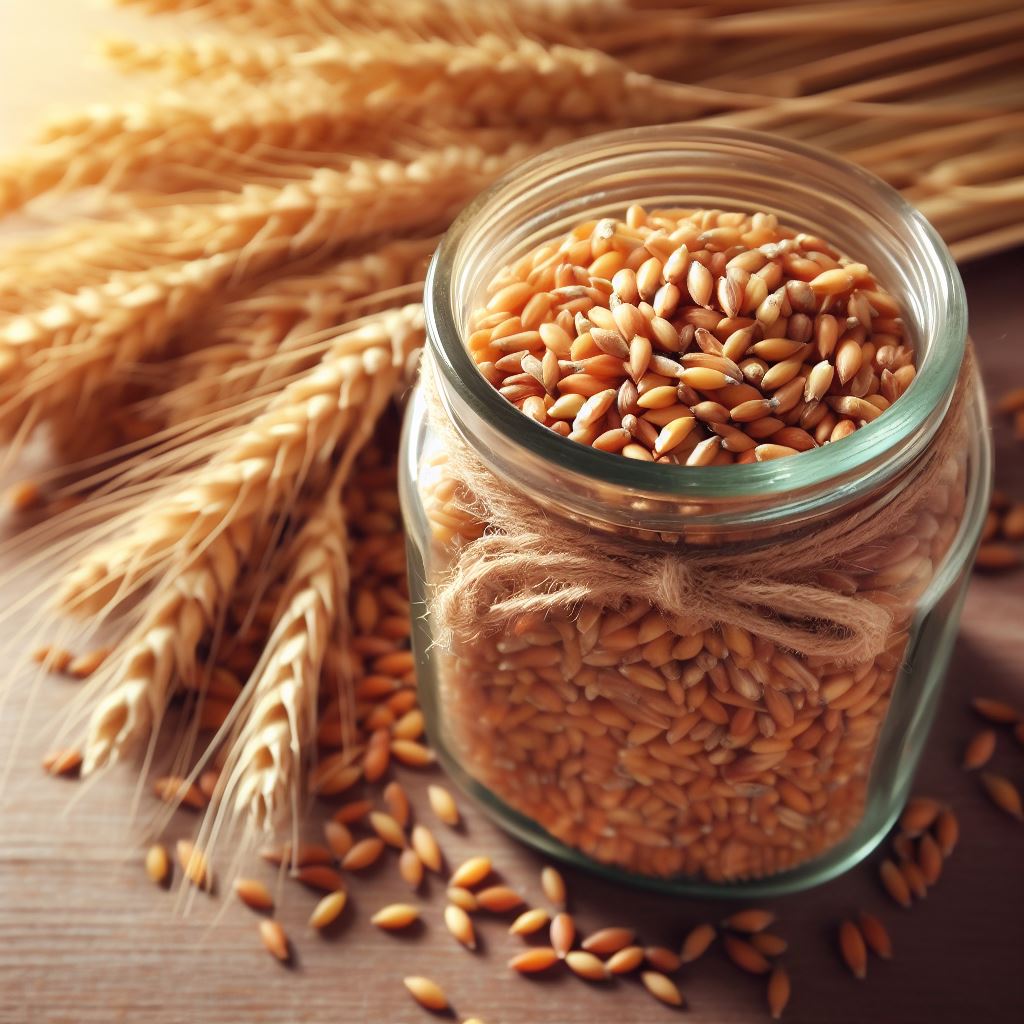
We�ll grind a portion of berries as and when to kneed and bake into delicious pasta, bread, pilafs or flatbreads.
This flour will also make moreish Yorkshire Puddings:
Yorkshire Puddings
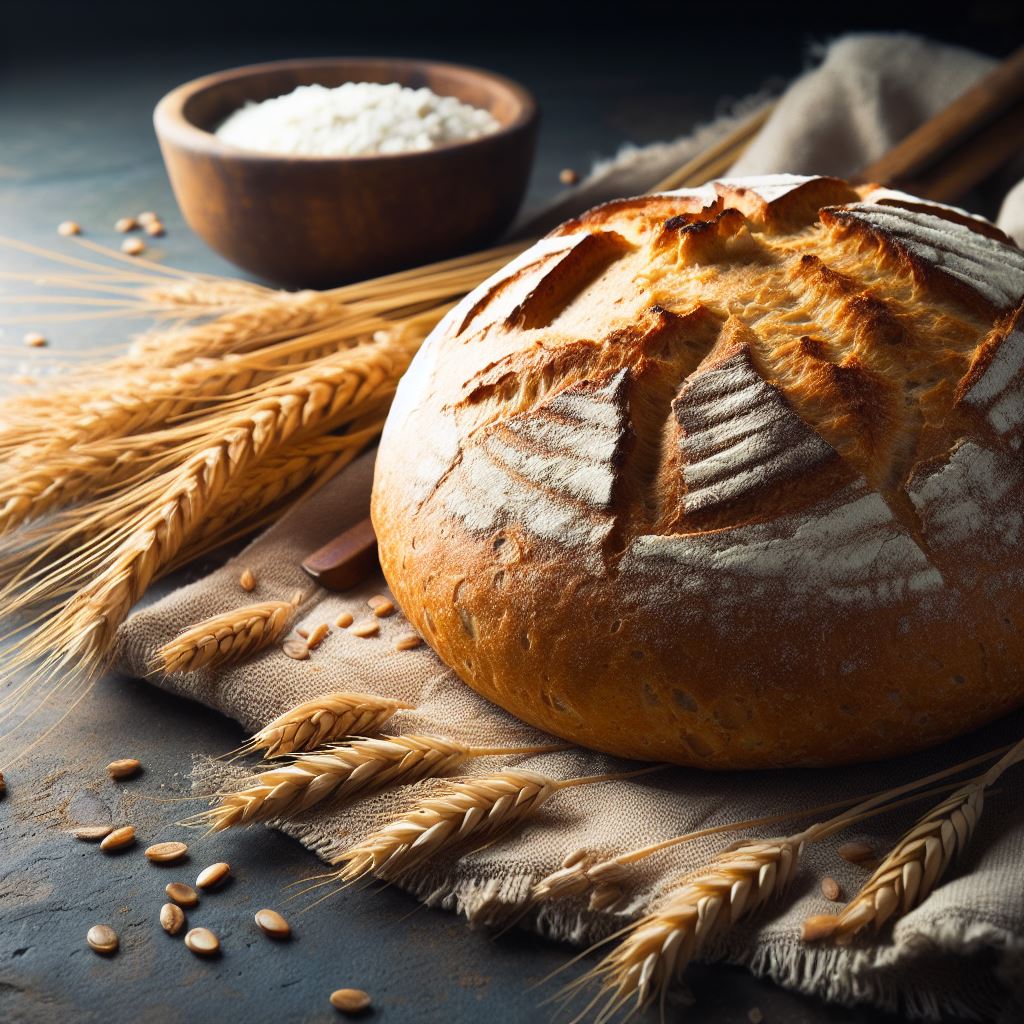
Or a fantastic rustic loaf:
LINK TO RUSTIC LOAF
